Chalkboard Paint Planter

I made a few of these faux flower planters as centerpieces for my work potluck last year. They were a huge hit, and were displayed on tables to brightened up our kitchen all summer long! Use them in place of table numbers or name cards at any casual garden party or brunch. The upside is that they last longer, are more affordable than real flower centerpieces, and you can give them away as gifts for your guest.
Supplies: Flower/Butterly Stickers, a bright colored chalkboard paint, craft moss, garden wire, planter, styrofoam ball, small paint brush, scissors to cut the garden wire, and a stick of chalk.

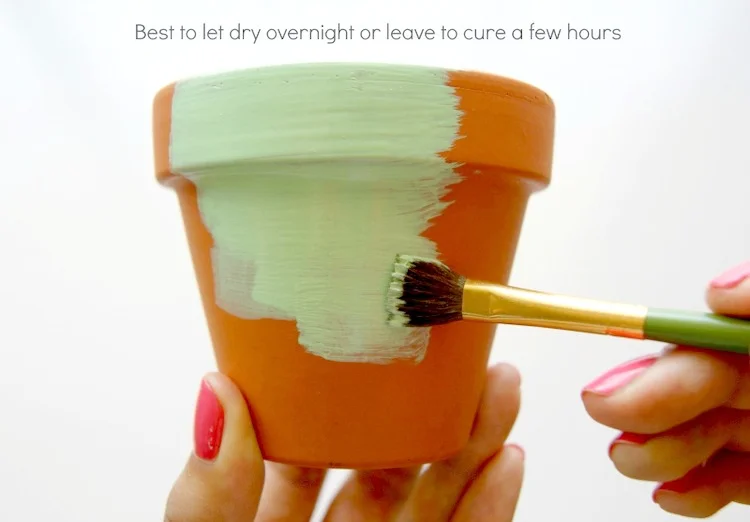
Make sure to wash and dry your planter before painting. It may take 2-3 coats to fully cover the planter.
Place stickers on either side of the the green garden wire and press together firmly. Make sure you buy stickers that can be placed back to back symmetrically. Adjust flowers and butterflies so they pop!


Cut garden wire at varying lengths so that you have different heights when sticking into the styrofoam ball.

Finally, use your chalk to draw on your chalkboard planter. Keep in mind the chalkboard paint needs time to cure and will not work well if recently painted. Here's another trick, once the paint is dry, take white chalk, and rub it all over the planter then wipe off with a paper towel. This way, the chalk takes better.


I hope your next project is a charming one!
- Enid